JavaScript DOM Manipulation
In this tutorial, you are going to learn JavaScript DOM Manipulation. You will learn how to manipulate the DOM in javascript, why we need DOM manipulation, what can you do in DOM manipulation, etc.
Suppose you want to create an interactive web application that modifies content and elements on the application as as users interact with it.
You can achieve this by changing the webpage dynamically. These are the most common things that you will want to do.
- What is DOM manipulation
- DOM manipulation methods
- DOM manipulation cheat sheet
- Practice DOM manipulation
Table Of Contents
What is DOM Manipulation in javascript?
DOM Manipulation is the process of changing the content and structure of the DOM (document object model). The DOM can be modified by adding, removing, or modifying elements and their attributes.
JavaScript DOM manipulation includes any of the following:
- Creating a new element
- Attaching/appending a new element to the DOM
- Removing an old element from the DOM
- Replacing an element with another element
- Changing the location of the element in the document
- Making changes in existing elements by adding style or by adding content
- Adding a new attribute to the element
- Removing an attribute from the element
- Changing the value of an attribute
- Changing the events on the DOM
JavaScript DOM Manipulation Methods
To make some changes in DOM or to modify the DOM elements we need some methods given by JavaScript to do so.
Here is the list of the tasks that you can do using DOM manipulation methods:
- Creating new element
- Appending new element
- Removing element
- Replacing element
- Changing style
- Adding attribute
- Removing attribute
- Adding event listener
1. Create Element In JavaScript
It is common for interactive websites to create new elements dynamically on user's actions and use them.
To create a new element in the DOM, we need to use the document.createElement() method and pass the name of the element as an argument.
Look at the example below:
// creating paragraph element
var element = document.createElement('p');

// creating image element
var element = document.createElement('img');

// creating anchor element
var element = document.createElement('a');
The reference of the created element is returned by the document.createElement() method and stored in the variable.
The createElement() method converts the tag name of the element to lower case before creating the element. So you can pass element name both in lower case and upper case.
Example
// capital letter
var element = document.createElement('IMG');

// lower case
var element = document.createElement('div');

// mixed case
var element = document.createElement('TaBlE');

// all of the above are valid codeNote: The element created by the createElement() method does not automatically attach to the document, we have to explicitly append elements to the document.
2. Appending Element Using JavaScript
We have created the element and also has stored the reference of the element in a variable, but the created element is floating aimlessly because DOM does not know about the created element till now.
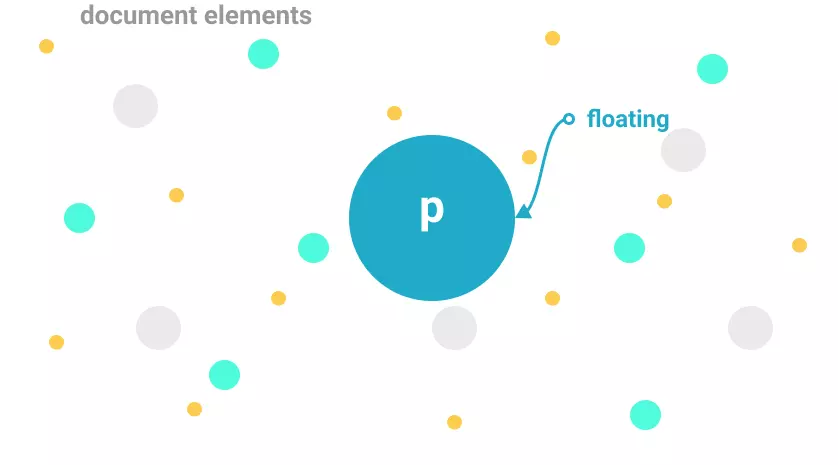
To make the created element a part of the document we have to explicitly attach it to the document using some methods.
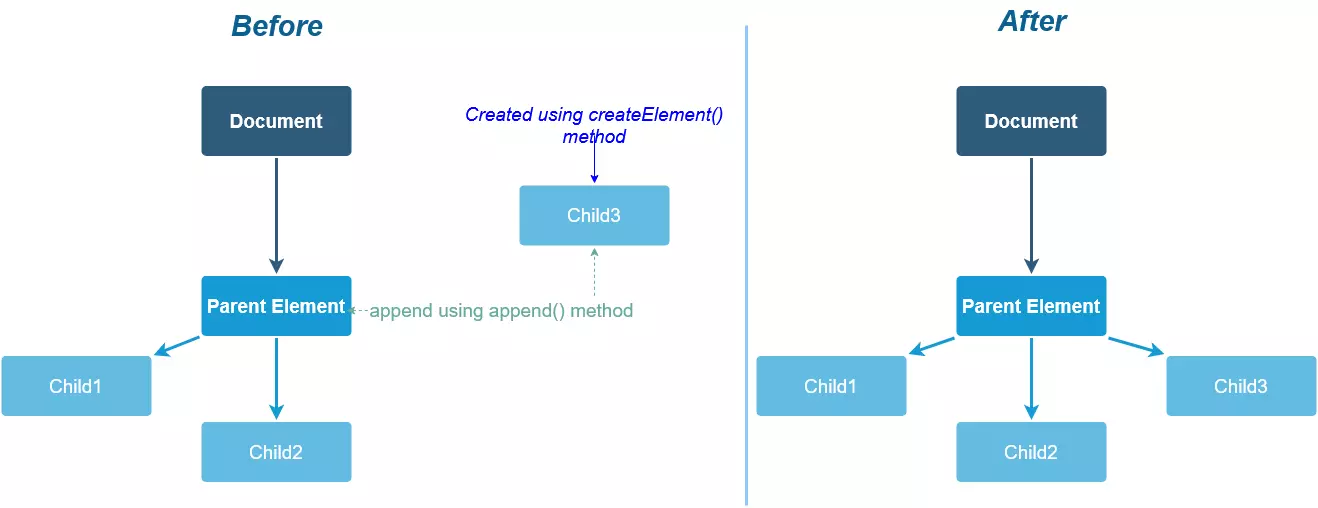
- append() - It appends the Node objects or DOMString object to the parent element.
- appendChild() - It can append only Node objects to the parent element.
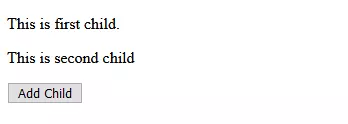
Here is a working example:
Example
<div id="parent">
  <p>This is first child.</p>
</div>
<button onclick="addChild()">Add Child</button>

<script>
  function addChild() {
    const parent = document.getElementById("parent"); // selecting parent
    const child = document.createElement("p"); // creating child
    child.innerHTML = "This is second child"; // adding some content

    // appending child to parent
    parent.append(child);
    // you can also use appendChild()
  }
</script>Output: After button click
The reference of Node element which has to be appended is passed as an argument to the method. The method calling element is known as the parent while the element which is appended is called the child.
3. Remove Element From DOM
In an interactive web application, you will not only want to create and append a new element to the document but also remove any desired element.
The removeChild() method is used to remove the child element from the parent element. The reference of the child element is passed as an argument to the method.
Syntax:
parentElement.removeChild(childElement);- parentElement - The reference of the parent element.
- childElement - The reference of the child element.
Here is an example that removes the child element from the parent element:
Example
// selecting parent and child
const parent = document.getElementById("parent");
const child = document.getElementById("secondChild");

// removing child from parent
parent.removeChild(child);The method removeChild returns a reference to the child node which is deleted.
Note: You need to call the removeChild method from the parent of the child otherwise it will throw an error.
4. Replace Element with Other Element
The replaceChild() method is used to replace the child element with another element.
Syntax:
parentElement.replaceChild(newChild, oldChild);- parentElement - Parent element whose child is to be replaced.
- newChild - Element which will replace another one.
- oldChild - Element which will be replaced.
The method returns the element which is replaced.
Example
// selecting parent
const parent = document.getElementById("parent");
// selecting oldElement
const oldElement = document.getElementById("child");
// creating newElement which is h2
const newElement = document.createElement("h2");

function replace() {
  newElement.innerHTML = "This is new element, old element replaced by this."
  parent.replaceChild(newElement, oldElement);
}5. Changing Style of Element
You can also change the style of an element dynamically on an action. To change the style of an element you can use use the style property of the element.
With the style property, you can control any CSS property of the element like color, font, border, etc.
Syntax:
element.style.property = value;- element - The element whose style is to be changed.
- property - The property of the element whose value is to be changed.
- value - The value of the property.
Here is an example that changes the color of the element:
Example
// selecting element
const element = document.getElementById("element");

// changing color of element
element.style.color = "red";6. Adding Attribute to Element
You can add an HTML attribute to an element using the setAttribute() method.
Syntax:
element.setAttribute(attribute, value);- element - The element whose attribute is to be added.
- attribute - The attribute of the element.
- value - The value of the attribute.
Here is an example that adds the attribute title to the element:
Example
// selecting element
const element = document.getElementById("element");

// adding attribute
element.setAttribute("title", "This is a title");7. Removing Attribute from Element
You can also remove attributes from an HTML element using the removeAttribute() method in JavaScript.
To remove an attribute call the method on the element and pass the attribute name as an argument.
Example
var element = document.getElementById("element");

// removing attribute
element.removeAttribute("title");8. Adding Event Listener to Element
The addEventListener() method is used to add an event listener to an element.
An event listener is a function that is called when an event occurs on an element.
Syntax:
element.addEventListener(event, function);- element - The element on which the event is to be added.
- event - The event which is to be added.
- function - The function which is to be called when the event occurs.
Here is an example that adds mouseover event to the element:
Example
// selecting elemewhichnt
const element = document.getElementById("element");

// adding event listener
element.addEventListener("mouseover", function() {
  alert("Mouse is over the element.");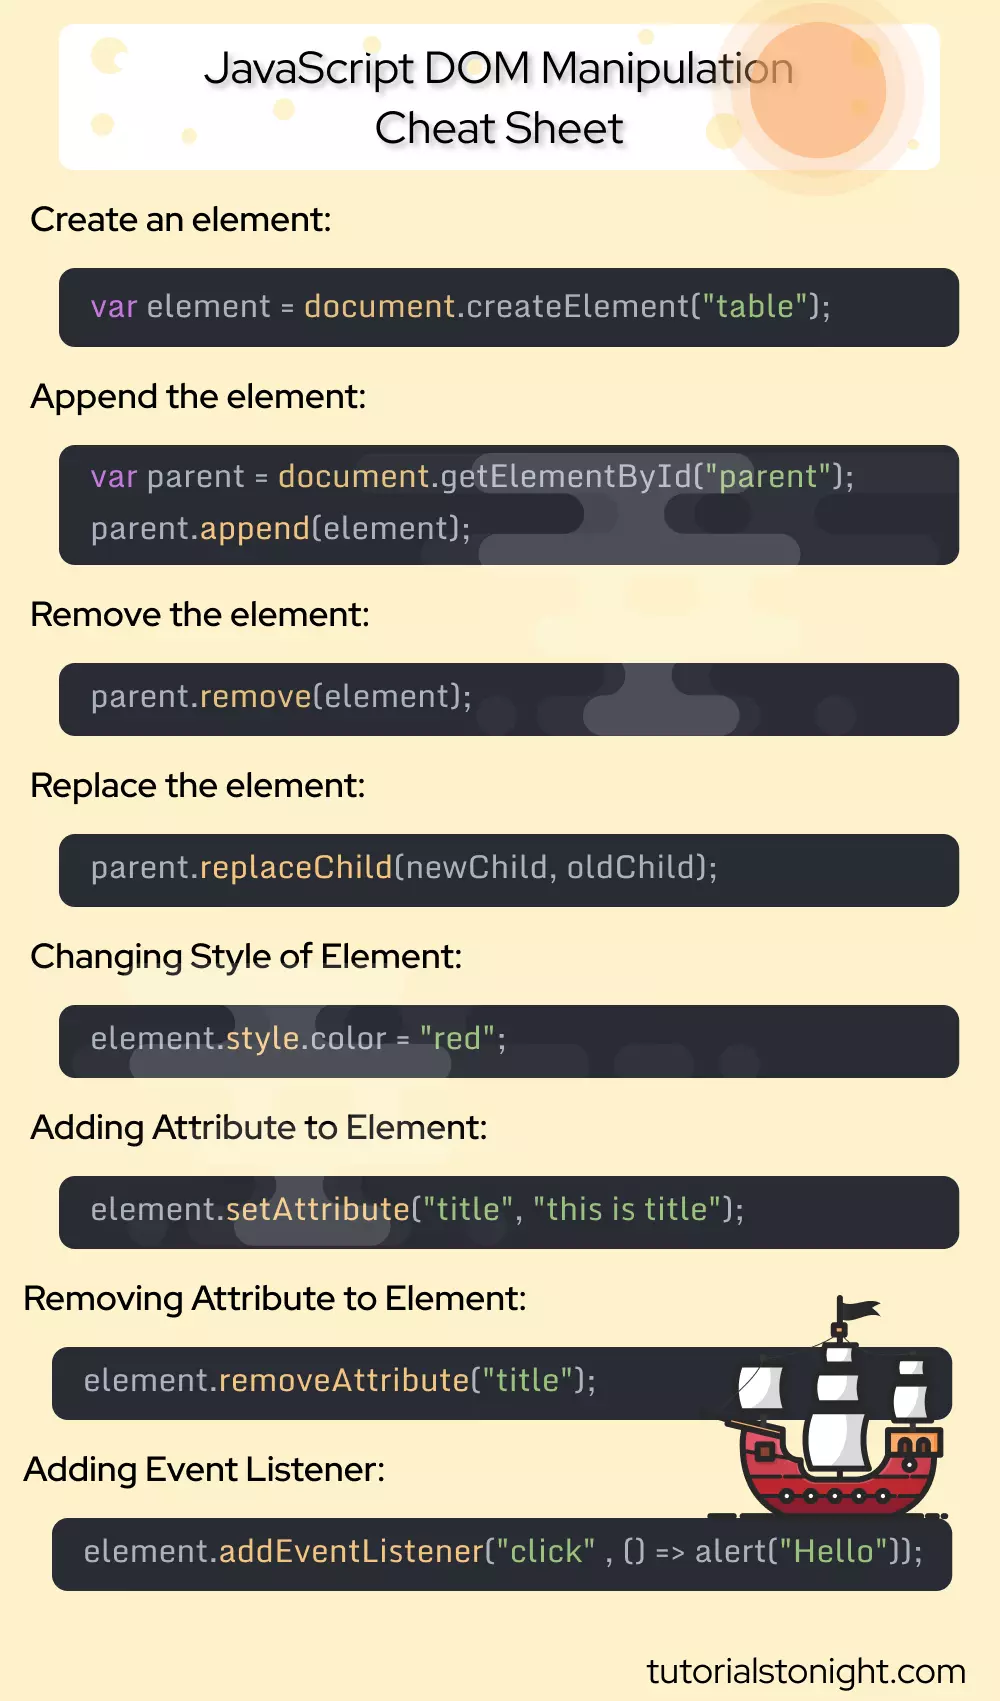
});Javascript DOM Manipulation Cheat Sheet
Javascript DOM Manipulation Practice
Here are some practice problems to practice DOM manipulation.
- Create a table element and add it to the body.
- Create a table row element and add it to the table.
- Remove 2nd row from the table.
- Add a class attribute to the table row.
- Replace 3rd row with a new row.
- Add an event listener to the table.
Conclusion
JavaScript DOM manipulation is a powerful tool provided by the language using which we can do a lot of things with HTML. It is very useful when we want to add a lot of functionality to our website.
You can add, remove, change, add an event listener to an element using DOM manipulation.
With all this knowledge you can now create a lot of cool websites.